
How to Select the Right Dates for Your Reports
Default date when you log into Bench
To make sure you always have the most relevant snapshot of your finances right when you log in, the default date will be customized based on time of year.
- From January 1st to March 31st of every year, the default date will be the previous year until the current date - Example: On February 5th 2024, you’ll see information from January 1, 2023 - February 5, 2024
- From April 1st to December 31st of every year, the default date will be the current year to date - Example: On April 5th 2024, you’ll see information from January 1, 2024 - April 5, 2024
How to change the date range for the financial information you want to view
After you log into Bench, in the top right corner you can click on the ‘Calendar’ button and change the date to the specific time period you’d like to view.
This selection will apply to any information on the current page as well as any areas of the app you navigate to.
Easily change the date range from the same ‘Calendar’ button whenever you need to look at a different time frame on any page.
The ‘Calendar” button will always be visible in the top right corner on any page you navigate to.
How to change the date range for the reports you download
Adjusting the date range in the Bench app using the ‘Calendar’ button will also, by default, adjust the date range for any reports you choose to download, like your income statement or balance sheet.
If you’d like to download an income statement or balance sheet you can navigate to either of those pages in the main navigation and click ‘Download’.
A slideout will appear, and the date range will default to the same time period you’ve previously selected. If you’d like to make further adjustments to the date range of your report, you can easily adjust that in the slideout.
After selecting the date range for your downloaded report, you can further tailor the report to how you’d like the information breakdown to appear, either by month, quarter, or year.
Comparing your expenses over time
- To compare your expenses for different time periods, scroll down to ‘Top Expenses’ on the ‘Overview Page’.
- Customize the date range by clicking on the date
- Select the timeframe you want to compare against from the ‘Compare To’ dropdown
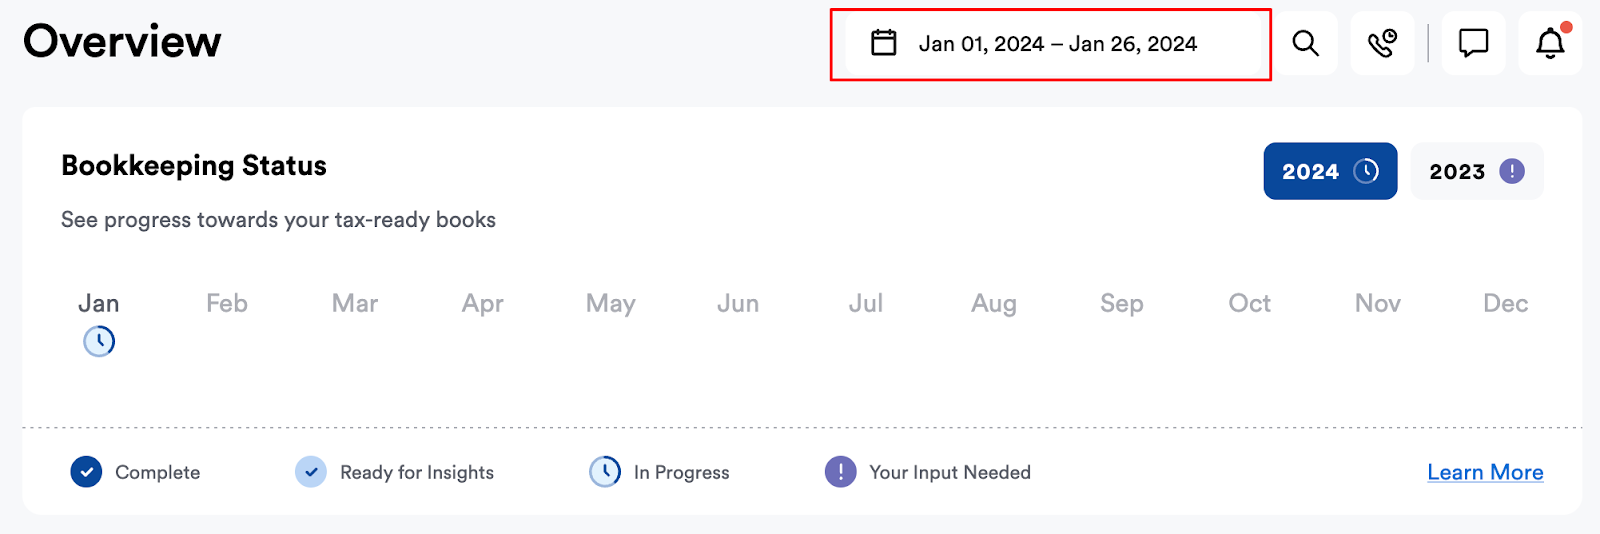
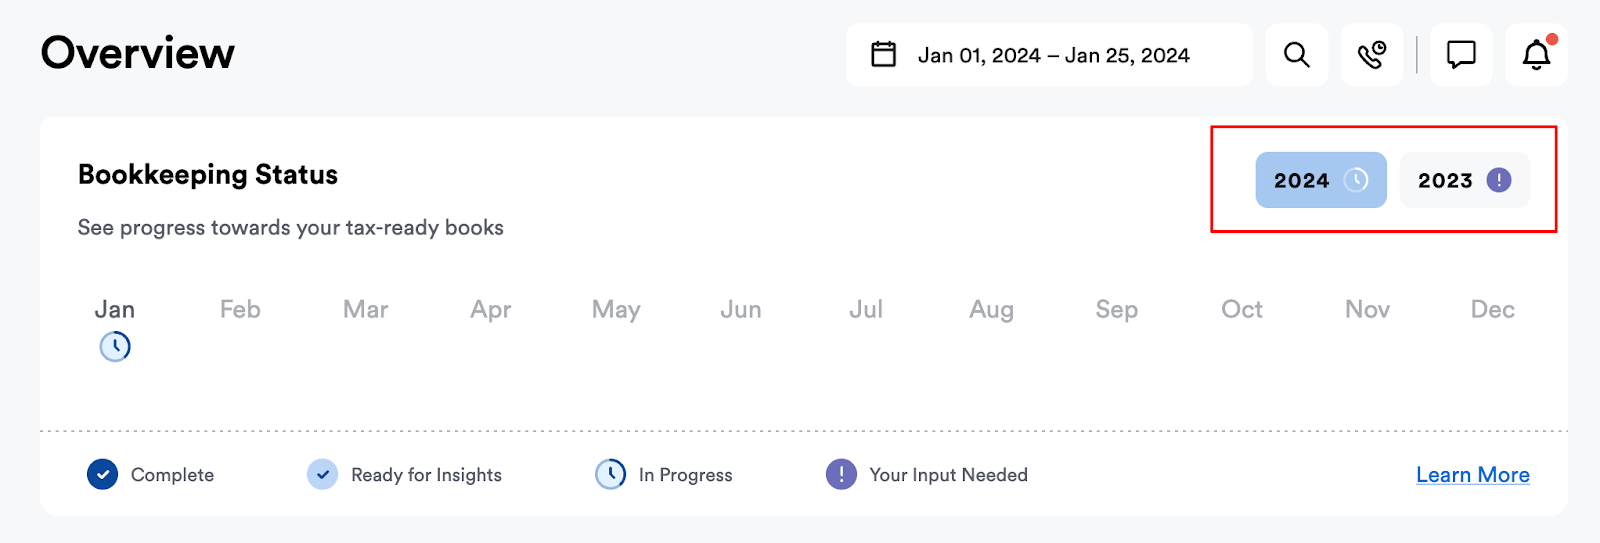
Date range for your bookkeeping status
The date selector in the top corner will not impact the view of your bookkeeping status. Your bookkeeping status will default to the current year, and if you’ve been with Bench across multiple years, you can easily toggle between years by clicking each year button.
Date range for transactions and documents
The date range you select will not impact the information displayed on the ‘Transactions’ and ‘Documents’ pages, nor will it impact your notifications.
The ‘Transactions’ page will show your uncategorized transactions first regardless of the selected date range.
The ‘Documents’ page will show all documents oldest to newest.